Where do you start on the road to being organized? You take it one step at a time. You invest time, energy and passion in creating real systems that work and that you can maintain long term. First, you need to start with your home base. So, clean your desk! Here’s how.
Before you start, you’ll need some file folders (different colors so you can categorize within your drawers), some drawer organizers for office supplies, and a file organizer for the top of your desk.
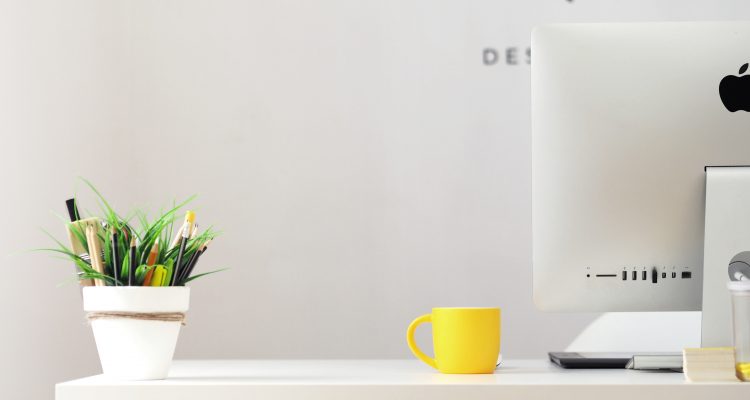
Clean out all the drawers. Put all office supplies such as stapler, pens, paper clips, scissors, etc. together.
Stack all folders that already have paper in them in one pile and all loose paper in a separate pile.
Once everything is out of the desk, clean it really well. When a desk is empty is the perfect time to clean it!
Put your office supplies back in your drawers using your drawer organizers.
Now, go through all the folders that already have paper in them and throw away any papers that you no longer need.
Lay out all the folders on a table or the floor. Sweep the floor if you need to before you do this—no need to put dirt back into a clean desk!
At this point, if you plan to use a color-coded system for filing, you’ll need to categorize your files and change any existing files not in the right color to the correct color for its category. The categories I use are red folders for budget documents and important information such as job descriptions; yellow for people such as volunteers or visitors; orange for continuing education; purple for programs that occur regularly such as Sunday School; blue for missions and other trips; and green for fundraisers. If you have events that occur annually, consider putting only the event name rather than the event name and year so the folder can be used from year to year.
Put the loose papers in the folders where they belong. If you come to a paper that doesn’t have a folder, get one of the new folders and make a new one right then. Add it to the table or floor, and keep going until there are no loose papers.
Put all the folders back in your desk, organized either alphabetically or by color if you’ve decided to use categories.
Place the file organizer on top of your desk and put only the files of projects that are coming up in the next month or two in the organizer so they are easily accessible.
Take one more folder and label it “To Do” or “Follow Up” and place it at the beginning of the file organizer on top of your desk.
Congrats! You cleaned your desk!
How do you keep your desk clean every day?
In the 15 minutes before you leave each day, the ritual of cleaning three areas should begin: your desk, your to-do list and your inbox.
Go through anything left on your desk and find its place either in a drawer, someone else’s office, a file folder, etc.
A key to maintaining a clean desk is keeping empty file folders on hand to organize stray papers quickly when they don’t seem to belong anywhere. If you’ve chosen to use color categories, you need to keep extra folders in every color on hand at all times in order to keep from creating an “I’ll put than in a folder eventually” pile somewhere on your desk or in your office.
If there’s a piece of paper that you need in order to finish something later in the week or that’s not ready to be filed yet, that’s when you use your “To Do” or “Follow Up” folder in your file organizer. This will help keep loose papers off your desk but keep them from getting lost all together.
Once your desk is organized, you should be able to maintain this state as long as you commit to cleaning off your desk at the end of every day. Getting your desk clean is not only the first step of getting things done. It’s also the first step to breaking the mold created for youth workers. Show your congregation, staff, youth parents and students that you are serious about ministry by showing that you are investing, digging in and creating a sustainable program by being intentional, professional and (gasp!) organized!